

Dos And Don'ts Of Cake Decorating
If you buy an item via links on this page, we may earn a commission. Our editorial content is not influenced by commissions. Read the full disclosure.
I wanted to be a good cake decorator from the moment I realized that I had a passion for food and yet, it just did not come naturally to me. I still cringe when I think of my sister's wedding cake. So I vowed to make her another one since, 7 years after her wedding, I am finally taking cake decorating classes and getting better.
Understanding the basics can mean all the difference in the world. I'm sharing with you today a few basic cake decoration tips I have learned in my last few weeks of cake decorating classes.
This is the first set of classes in a group of 3 but there is so much more to expand on after that. I am having so much fun learning that I hope to take them all and pass my knowledge on to you!
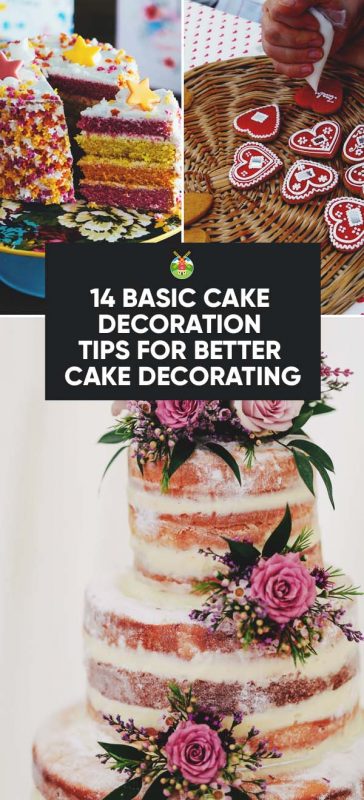
Basic Cake Decoration Tips
1. Don't Be Afraid to Spend a Little Money
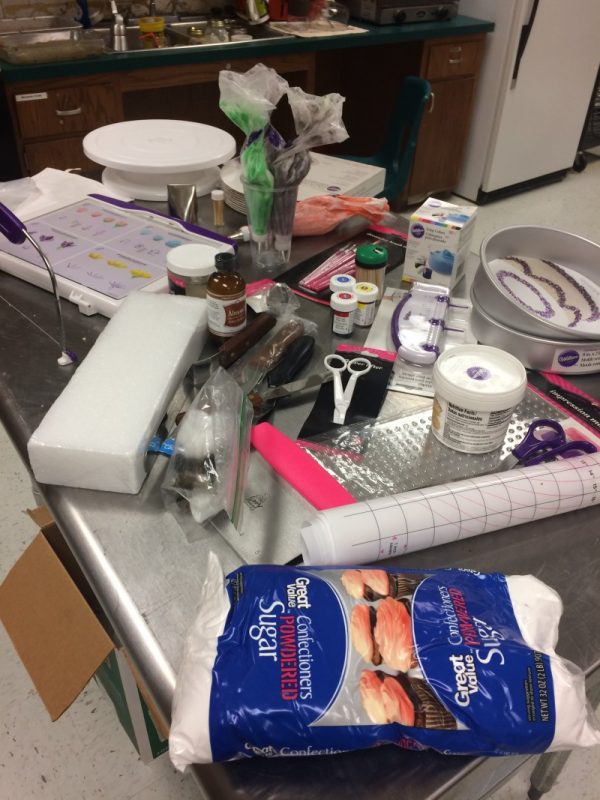
This was the first thing I really learned about cake decorating. Before when I wanted to be a cake decorator I didn't spend any money other than purchasing a tip set and some icing bags.
I knew this time was going to be different. For one thing, I paid for the class. It was not terribly expensive but I wouldn't say it was cheap either. When we got our list it had 26 things on it and some of those things had separate sections, for example, one dot would say: Spatulas – one large and one small offset; one large and one small straight.
I had totaled it up the day before I purchased the products to be about a few hundred dollars. It came closer to what I had totaled, though I practice a lot and have had to purchase a second set of cake boards and icing bags!
According to Creative U, the basics are:
- Pastry bag (fabric or disposables)
- A basic set of decorating tips
- Set of spatulas
- Food coloring
- Turntable stand for the cake
- Cutters in different shapes and motives
2. Make Your Own Icing

I don't think it would be fair of me to give out the icing recipe given by my class because we paid for it but I will tell you this was the hardest pill for me to swallow.
I am a big believer in eating real food and I do not consider Crisco to be real food. Yet, we must use it in order to get our frosting to contour the way we want it to and in order to get beautiful roses. Why? Because at room temperature butter is soft and when butter is handled it is even worse. We'd have a melting mess!
So, swallow your pride and follow this recipe making tweaks as you see fit. There are some great flavorings you can buy in the cake or candy aisle. The class teacher recommended we bring extra powdered sugar to each class in order to get a stiff icing and be able to make the roses properly.
Also, if you make your icing using a stand mixer be sure not to put it past number 4 or you will have too many air bubbles in your icing. No good.
3. Left Handers are Unique
I was following the directions and doing pretty good or so I thought. Our teacher looked at me and said, "You're a left-hander, aren't you?" "Yes," I said.
She showed me how to do it the opposite way to the Wilton practice board and I did it just as well either way, so I didn't argue. Later, though, I asked my husband why he thought I had to do my cake decorating differently than others.
His response amazed me. If I did it from left to right and my hand got tired or I slipped I would lose my progress on the cake. Going from right to left, I won't mess up.
Amazing.
4. Flip Your Cake Over
I always knew that you were supposed to do a crumb coat before you created your final cake. The reason for this is because you don't want the crumbs to show through in your final product.
Before I go any further, I recommend using this cake leveler. One of the few things I bought in my cake decorating stint 7 years ago was a cake leveler. It was the cheaper one and I hated it. Carried it around for the last 6 years and "forgot" it at the last school I taught at.
I hesitated to purchase that one but I am glad I did in the end. I was shocked at how much better it cut through my cake.
The other thing I would use is a bread knife but if you are going to do that, be sure where the knife and your hand are. I definitely don't know that from experience…
Anyways, once the cake is level, we are left with crumbs. If you turn it upside down, you are not! Huh. Who would have thought?
5. Piping Gel and Parchment Paper are Pretty Amazing

Lori at A Cowboy's Wife posted this picture along with her story of a Wilton cake decorating class. Mine is not Wilton specific which is why I chose to go with Cake Carousel; however, much of what Wilton teaches is covered in my program because as my cake pop teacher stated, "Wilton has some great stuff!"
Essentially what piping gel does is it helps you to transfer a picture you want onto the cake. Did your child draw something and you want to have it on the cake?
Put a piece of parchment paper over it and then outline the paper with the piping gel by using your icing tip and the number 3 or 4 tip. Flip it over and use a brush to put it onto the cake.
So long as you used clear piping gel, you have the outline of your design on your cake – now decorate!
6. That Turntable, Though
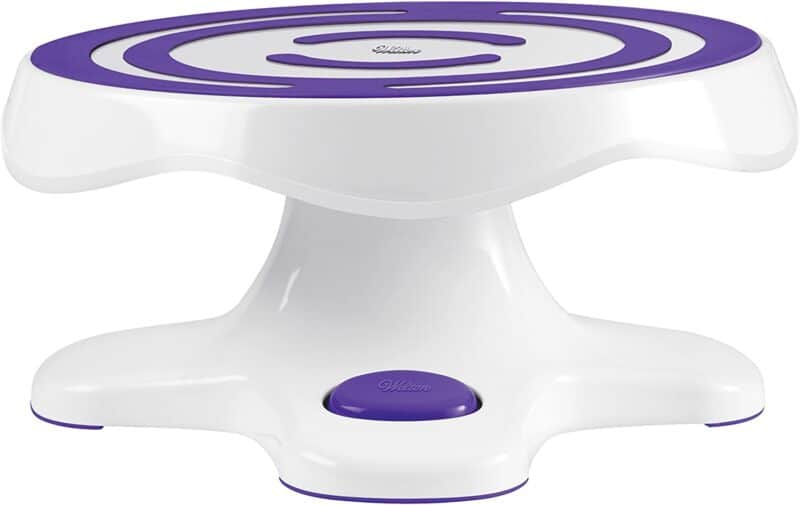
I might be going into the "What to purchase" category but I have a reason, one being that these products are worth it. The first time I saw our teacher crumb coat I was shocked. She used a 16-inch bag (that I bought fabric, not plastic) and the quick icer tip number 789 and basically put pressure down and spun the turntable. It was that easy.
My jaw may or may not have dropped.
It also helps when smoothing out the icing or doing just about anything, to be honest. It is a pretty neat tool.
7. Smooth Out that Icing
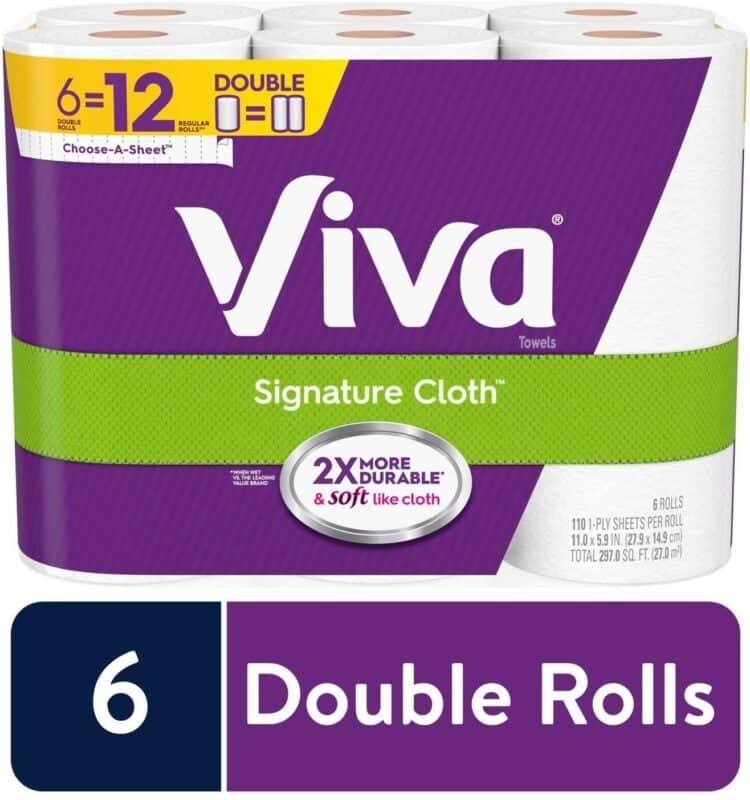
Why am I showing you a picture of a Viva paper towel with regards to smoothing out your icing? It's the secret ingredient!
The first step is to smooth it out using your small offset spatula as best you can and then let it sit for a little while. Once you can touch your cake and it is tacky then you are ready to smooth the icing well.
Simply take the non-patterned side to the cake and use your icing smoother to smooth over the icing. Before you know it, you'll have a great, smooth cake!
8. It's Probably Not Stiff Enough
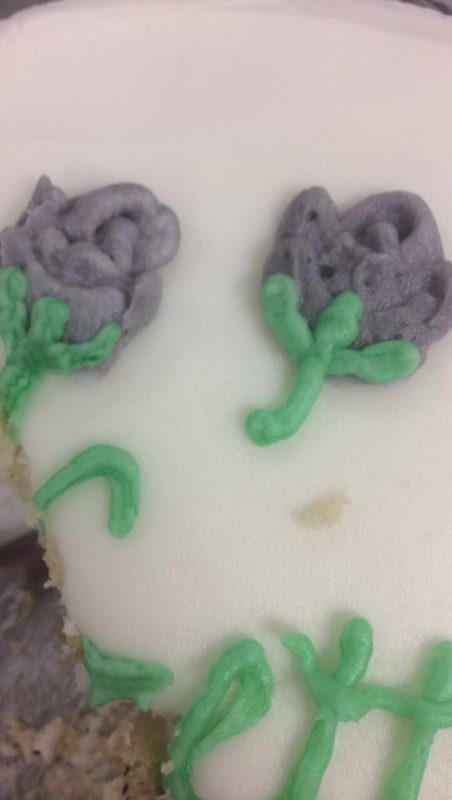
This, I think, is my biggest struggle. My icing is not stiff enough. Writing this post really has me wanting to go in the kitchen and practice (I hope it does you too!).
I just did and I felt like my icing was not stiff enough. So I added more. Still not stiff enough. If it is not, nothing will stick – from the 3-dimensional roses that leave you scratching your head to the leaves – none of it will stick around.
Buy lots, and lots, and lots of powdered sugar.
9. Want to be the Best? Practice!
Practice, practice, and practice some more. Since I started this class, I told you that I have gone through several icing bags and cake boards.
I have the benefit of being in a culinary classroom so I rotate between classes of who bakes my cake that day and gets to eat it the next day (I decorate for now). They love it and I do too because then I am practicing on a real cake and not having to eat it.
I also recommend if you are eating it especially, to not stick with the traditional chocolate or vanilla. So far I have made an earl grey tea cake and apple pie cake. Before I leave today, I will have cooked a S'mores cake that we will decorate tomorrow.
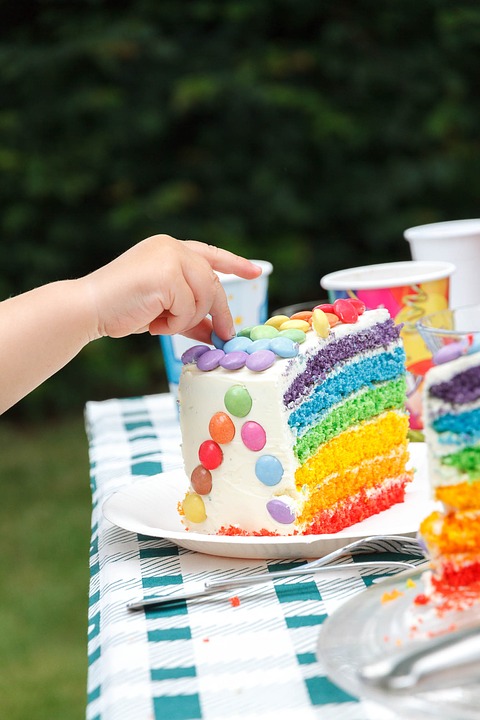
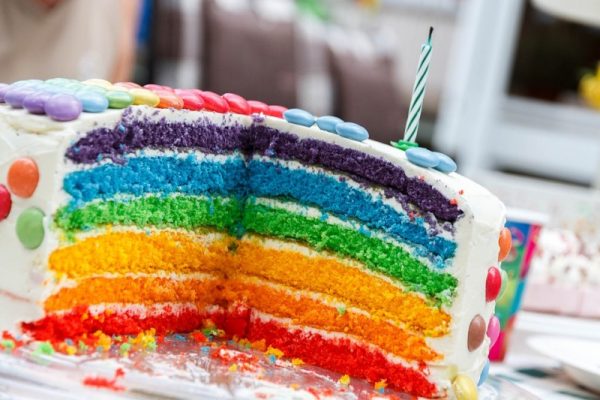
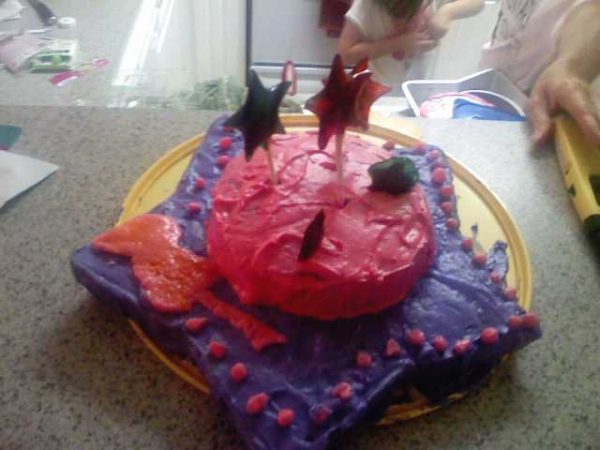
10. Ombre is Way Easier Than It Looks
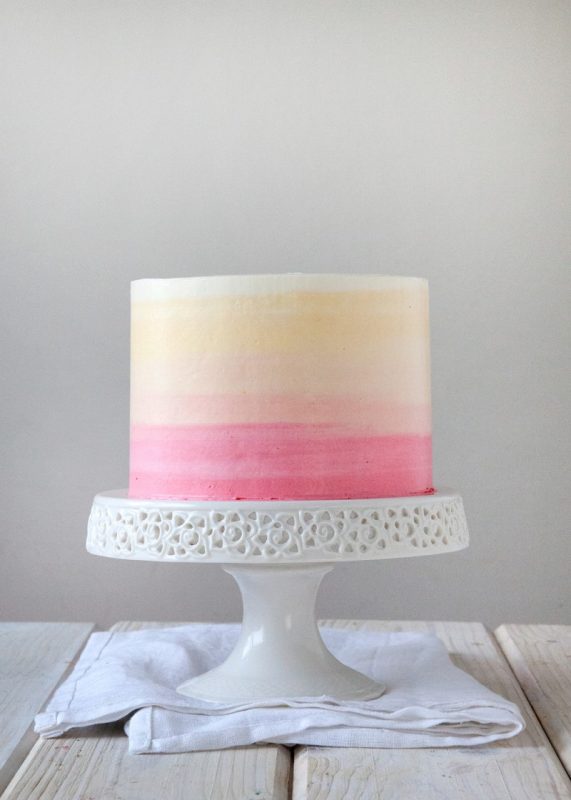
I was a bit sad last Thursday when I had to miss class. Not wanting to miss out on anything and knowing that we would be making an ombre cake at some point – I decided to teach myself.
I googled it and came across Tessa Huff's Style Sweet blog. Her cake was beautiful so I decided to follow her steps. Although my cake was not pretty pink, I opted for a grey ombre (since I made an Earl Grey cake), it was still beautiful.
She uses 4 different shades and has 3 layers. I opted for 3 shades and 2 layers. Yet, her steps are easy to understand and made for a beautiful cake.
***One thing I am still learning is that one layer is one whole cake recipe. I had always made one recipe and split it in half. No more!***
12. Impression Mats are Helpful
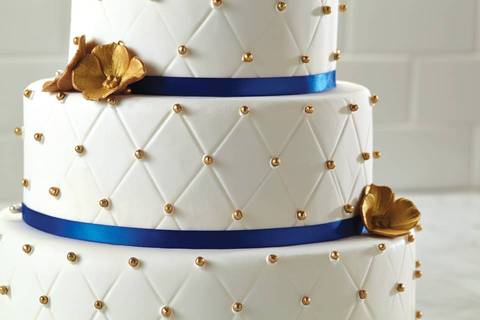
Once you have figured out how to get a smooth buttercream finish, you can add an impression mat for something that takes very little time for you. Want a swirl pattern? There's an impression mat for that. How about polka dots? Yep. One for that too (that's the one I have).
All you do is take the impression mat on the smooth buttercream and press gently where you want the design.
If you get further and further into cakes, you can use this with fondant and gum paste as well!
13. To Write or Not to Write
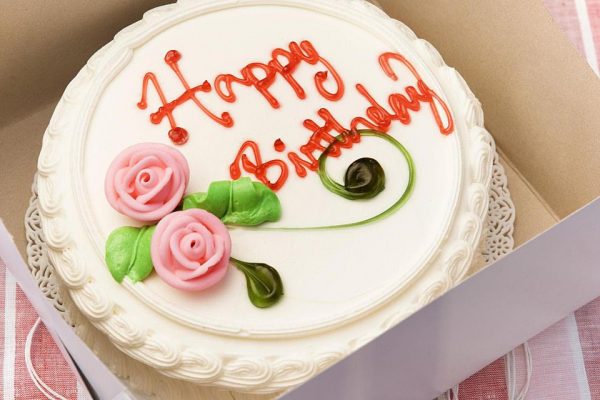
Oddly enough, this is one area where I know I don't struggle.
You see, I spent 2 wonderful years as a deli employee at Walmart while I was in college getting my associates degree. The benefit of that was when the bakery closed down for the night and someone needed a "Happy Birthday Bob" written on the cake, I was their lady.
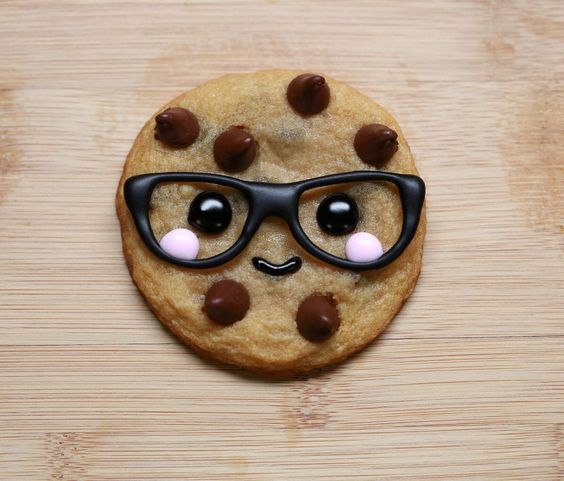
When I could get away with it, I practiced on the chocolate chip cookies. Eventually, I was as good as the bakery employees if not better. Left-hander or not, haha!
Therefore, I am sending you over to Michelle's Post on The Spruce. My only recommendation and I don't know if she says it or not, is to hold it up high with your non-dominant hand and down low with your dominant hand to get the writing just right.
14. My Final Tip: Have Fun
Often, I joke with people that I have no life because I know there is so much out there I still need to do. I have a crazy busy life right now: my oldest does ice skating, band, and UIL. My youngest girl does dance twice a week, UIL, and she started a club that helps people at her school. I am in graduate school, I am a teacher, I am a Junior Class Sponsor (meaning fundraising for prom… aka concession stands).
Also, I am the sponsor of the culinary competition team at our school, I write on here, and I am taking a cake decorating class.
All this is to say that I have no time for Youtube. However, my girls love watching Nerdy Nummies and when I can sneak in some time, I watch it with them because it's fun and gives me some great ideas.
I was not good at cake decorating my first go-round. I didn't put time and effort into it the way I should have and it did nothing but frustrate me. Now that I am taking these classes, I can feel my confidence rising and I am excited to be creative in the baking area the way I am in the culinary area. Nothing makes me happier than seeing someone excited about a culinary creation I came up with.
If you feel the same way then I recommend taking a class or doing some research and learning from others who are willing to share what they learned. Most importantly? Have fun with it- be a Nerdy Nummy!
Was this article helpful?
Yes No
Dos And Don'ts Of Cake Decorating
Source: https://morningchores.com/basic-cake-decoration-tips/
Posted by: myersborceir.blogspot.com
0 Response to "Dos And Don'ts Of Cake Decorating"
Post a Comment